Blessing of automation part two: Client's folder

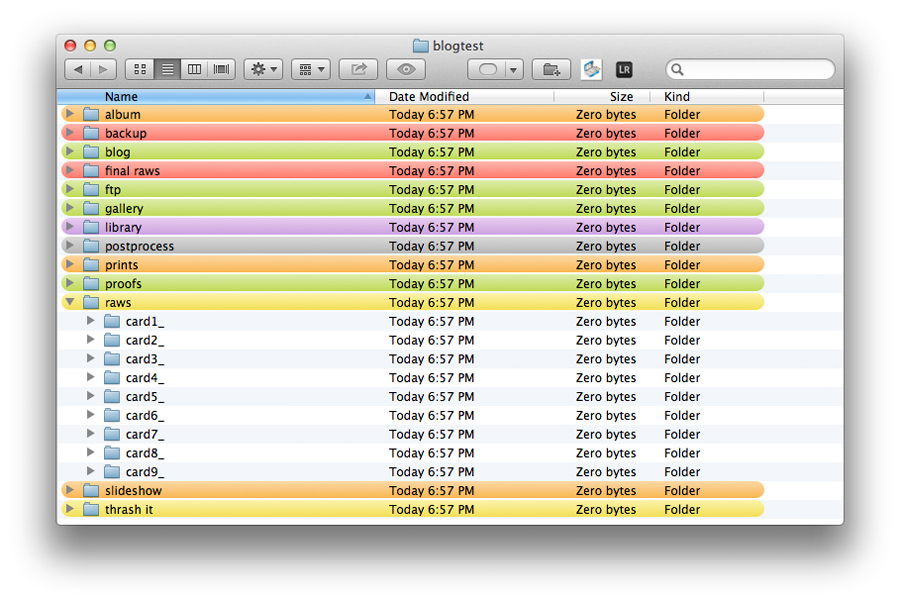
If you missed ‘overview’ here it is – part1. So, we are back to studio/home/hotel with files on cards. First thing I do is Client’s folder. It’s with predefined structure I use for file’s workflow – the colours I used are not suggestion or predefined – just to organise folders into logical groups:
backup (red) – I download here my high resolution JPEGs straight from card/camera. I use this folder/files for express proofing for the Client
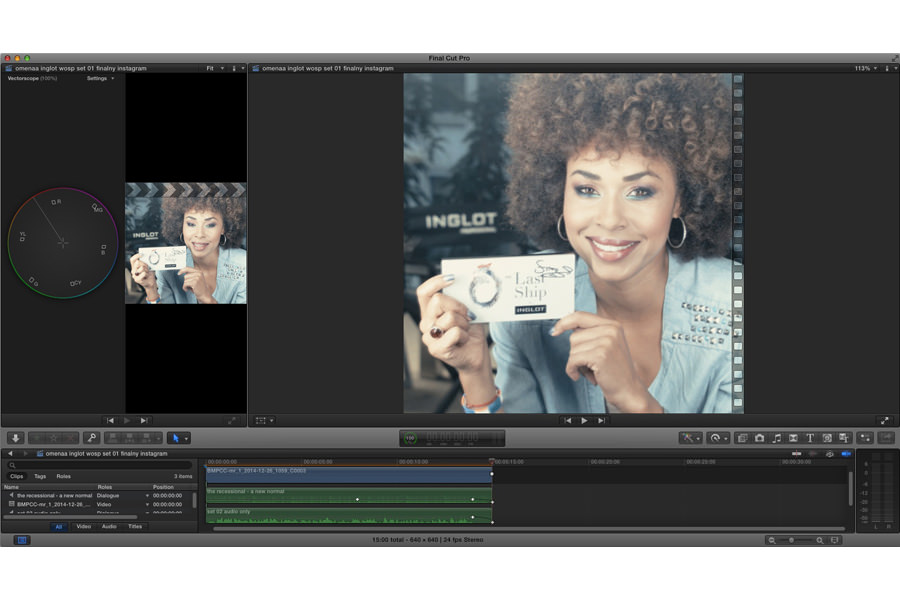
raws (yellow) – here is every card downloaded into separate folder. so it’s doesnot matter it has same numbered files as other card. for 4 cameras it may happen (specially with Canon). There is an workflow to include Photomechanic to automatically download cards into this folder, but since now all of you use Photomechanic… once all files downloaded I import them into RAW processor like Adobe Lightroom. Once I make selection (so I have my picks) I move it in Adobe Lightroom to
final raws (red) – so it’s my final folder for RAWs files. This is crucial to make 2nd level backup, the final one. This is subject of separate post, so let’s say short: backup at least 3-2-1. three copies, two kind of medium storage, at least one off the studio/home (like online storage). Once final raws are in their folder, I move the rest to the
thrash it (yellow) – this folder will contain all items to delete, starting with not needed RAWs
basically on this stage you should notice two red folders: backup and final raws. these are the ones to be backup. the core of our files.
library (violet). once I imported RAWs into in example Adobe Lightroom, I have Library with all cache previews and image library. I store library per Client, it’s always possible to import all libraries into one.
postprocess (grey) is folder for high resolution files. it automated at the end with a few steps to generate smaller files for web, gallery, ftp,
prints (orange) are at start (after resizing to 15×22,5cm @ 300dpi) AdobeRGB profile. I use for them droplet for specific paper profile, then I end up with action doing export to JPEG with same profile. This is what lab gets from me.
album (for fast and simple design I use action to create one image per page layout). anyway it contains all files that deals with album design.
proofs (green) are generated either as express view from backup folder either I do them by exporting from final raws.
next stage – uploading:
ftp (green) – I use it for automated upload on my server into Client’s folder (that can be accessed via web browser). Also I have one script to upload the folder to Dropbox. This is my whole idea – one click and let’s do something else.
blog (green) – 900x600px resized images, with keywords, copyrights, watermark/blog address
slideshow (orange) – 1920x1080px FullHD resolution files for Bluray slideshow. Still need to figure out how automate Soundslides Plus 🙂
gallery (green) – generated either from Adobe Lightroom (I use simple HTML gallery) either just 700px files to import into cart software. for simple html gallery I have different version of ftp upload script – it just upload whole folder to my specific folder on ftp (based of Client’s folder name).
best of all… small gift for Mac users… Client’s folder generator as Application Script. Pick where you have Clients’ folders on your drive, type the name of the folder and how many cards you will be downloading… and that’s it. Tested on actual Mac OSX 10.8.2 and below.
any questions?
[cc_string#counter_name]